
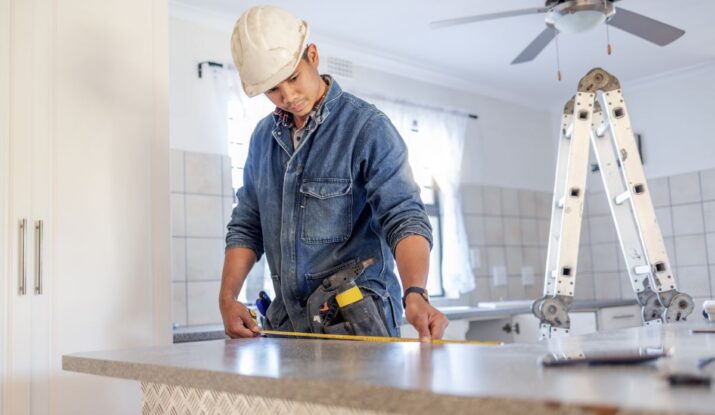
A chipped counter edge has a way of ruining your whole mood. You spot it while making coffee, and suddenly the entire kitchen feels tired. Most people’s first thought is that they’ll need to rip everything out and start fresh.
I’ve seen that look on a homeowner’s face a hundred times. They think they’re in for a full gut job and a second mortgage.
They’re usually wrong.
You’ve got options, and most of them cost very little money. One simple idea is to just pause and look at the damage before deciding anything. A simple kitchen counter repair is all it takes to restore the look and function of your countertop.
This is for anyone standing in their kitchen right now, staring at damage and wondering what’s next. We’ll cover what you can fix, what it costs, and when to wave the white flag and call someone like Dr. Cabinet.
Quick Answer:
Can a damaged kitchen counter be saved? Yeah, almost every time. The trick is matching the fix to the material. The real question is if you grab a $10 kit and knock it out on a Saturday or pay a pro a few hundred bucks to make it disappear.
Know Your Surface Before You Touch Anything
You wouldn’t use a wood patch on a stone counter. But I’ve seen people try.
Know what you’re dealing with first.
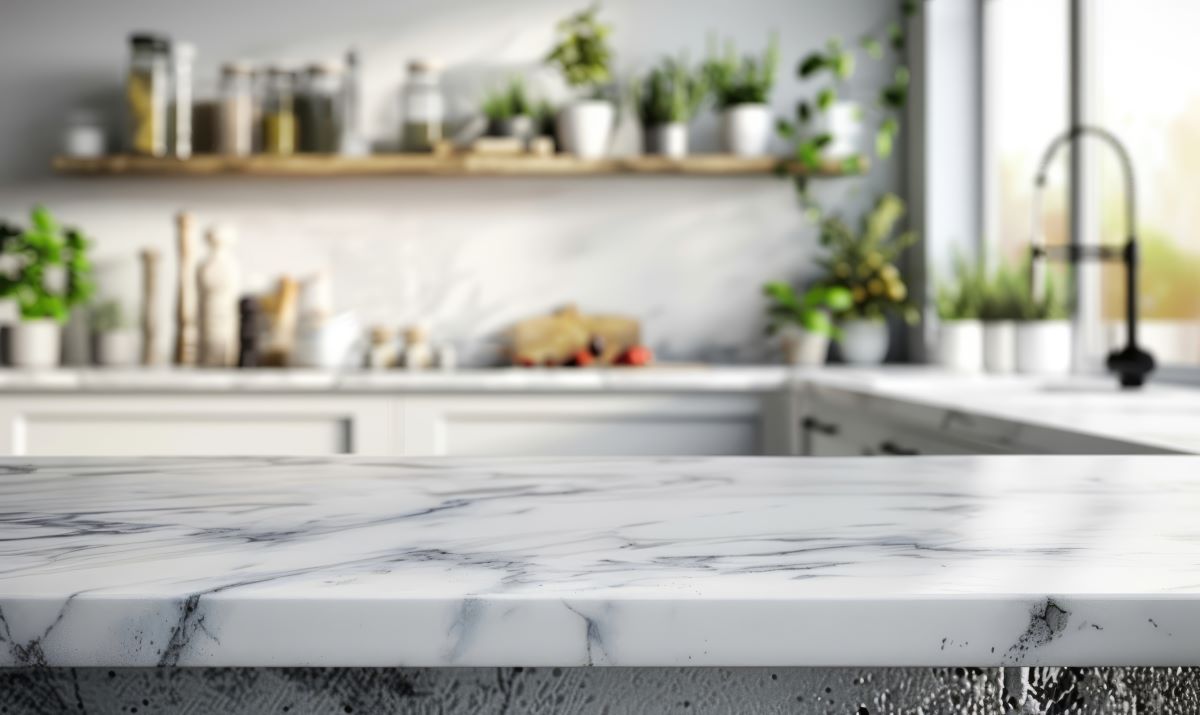
- Laminate: Plastic sheet glued to particleboard. Knuckle tap it. Hollow sound. Look for the seam line on the front edge.
- Granite: Cold, hard, real stone. Random patterns. Chips on corners, rarely scratches.
- Quartz: Man-made. Even pattern. Stains are rare but heat kills it.
- Marble: Soft and pretty. Scratches easy, stains fast. A marble repair kit is smart to keep around.
- Butcher Block: Wood strips glued up. Warm feel. Water is the enemy.
- Solid Surface (Corian type): Same color all the way through. Sands out nice.
- Stainless Steel: Brushed metal. Tough, but scratches are a pain.
| Countertop Material | DIY-Friendly? | Good For | Call a Pro For |
| Laminate | Yes | Small chips, burns, peeling edges | Big cracks, water-logged particleboard |
| Granite/Quartz/Marble | Sometimes | Tiny chips, light scratches, stains | Cracks running deep through the slab |
| Butcher Block/Wood | Very | Sanding marks, filling cuts, oiling | Rotted wood, split boards |
| Solid Surface (Acrylic) | Yes | Small cracks, scuffs, light burns | Seam fully separated |
| Stainless Steel | Hard | Light scratch blending | Dents, deep gouges |
Pro fix on a chip? Few hundred bucks. Whole new counter? Starts around two grand. Try the patch job first.
Diagnose the Damage
Run your fingernail over the spot. If it catches, it needs filling. If not, you might just buff it.
- Surface Stuff: Light scuffs, water rings, stains that haven’t gone deep.
- Structural Problems: Chunks missing, cracks you can feel, holes, peeling laminate, burn marks.
- Edge/Corners: Took a hit, lost material. Need filler to build it back up.
- Seams: Gaps opening up between slabs. Old filler dried out and fell away.
Good to Know: If the chipped piece is still sitting there, grab it. Gluing the original stone back looks way better than a blob of epoxy.
Countertop Repair Kit
Countertop repair kit is the quick and easy way to fix most of the minor damages. For spaces with small damage issues, these kits are highly recommended and used by professionals. You don’t have to bother for hiring pros for the smaller jobs when repair kits can do the magic repair.
Prep Work You Can’t Skip
Boring? Yes. Critical? Absolutely. Skip this and your patch pops out in a month.
- Clean It: Scrub the spot with a non-abrasive cleanser. Grease, dust, invisible gunk. Get rid of all of it. Rinse. Dry it dead clean.
- Tape It Off: Blue tape around sinks, faucets, anything you don’t want epoxy on. Toss a rag down if you’re sanding.
Biggest mistake homeowners make? Leaving moisture or grease in the damage. The patch won’t bond. It’ll just fall out.
Laminate Counters: Chips, Burns, Peeling
Laminate countertops are everywhere. They are cheap. But it scratches and chips fast. The layers peel apart when water sneaks in.
Common headaches:
- Burn marks from hot pans
- Chipped edges
- Peeling near the sink
- Deep scratches
- Swollen spots from water
Fixing Chips: Testors Enamel Paint. Hobby shop. Cheap. Comes in a pile of colors. Thin coat, wait, thin coat, wait. Might take 3 or 4 coats to fill it level. Half an hour of work, plus dry time.
For a quick hide on bigger damage, contact paper works. It’s a band-aid, not a fix. But it gets you through until you do it right.
Peeling Edge: Hair dryer. Heat it up. Press it back down. Stubborn? Cloth over it, clothes iron on low. Weight it until it cools.
Light Scratches: Wax wood-filler stick. Rub it in. Scrape the extra with an old credit card. Buff it.
Stone Countertops: Granite, Quartz, Marble
Stone is tough. But drop a cast-iron pan on the corner and you’ll find out it’s not bulletproof.
Small Chips and Cracks: Clear two-part epoxy works. Or cyanoacrylate. Grab a Granite and Quartz Countertop Repair Kit for about $7.49. The real thing is to add a speck of color to it. The patch shouldn’t stick out like a sore thumb. Overfill a little. Let it cure. Shave it flat with a razor blade.
Dr. Cabinet Advice: Color matching is the part most people screw up. Snap a photo in bright, natural light. Start with the lightest base color and add dark one drop at a time. Let a test dab dry somewhere hidden. Check it in different light. Then commit.
Deep Scratches: Sanding pads. Work the area down, then polish it back up. Takes patience. Light scratches on dark granite? Color-matched permanent marker. Buff it right after. It almost vanishes.
Stains: Paste of baking soda and water. For oil stains, use hydrogen peroxide instead. Slather it on thick. Plastic wrap over it. Tape the edges. Leave it a day. The paste pulls the stain out. Repeat if you need to.
Tile Counters: Cracked tile or grout falling out. Tile Grout Repair Kit starts around $3.97. For chips in tile, LANBOKIT Tile & Fiberglass Tub Repair Kit runs about $19.98. Waterproof Porcelain Repair Kit is $14.99. A 2026 Multifunctional Stone Crack Repair Kit is $6.99. Fill, sand, paint to hide it.
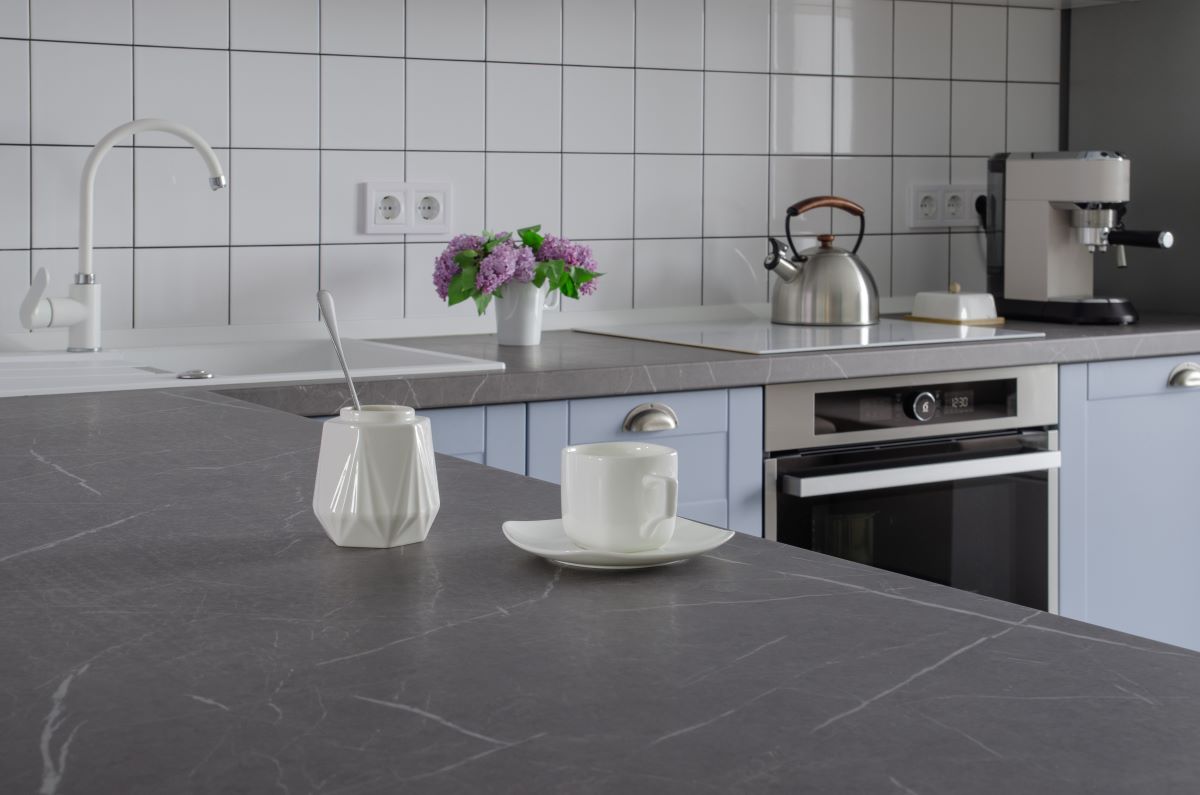
Marble Repair Kit
Marble repair kit comes handy. It repairs small chips and scratches well. An affordable and effective way to improve the look of damaged marble.
Butcher Block and Wood
Wood counters move. They show every knife cut and water ring. That’s the look. But deep gouges? Fixable.
Sand it down past the damage. 80-grit, then 120, then 220. For holes, use wood filler that matches. Dry. Sand smooth.
The Step You Can’t Skip: Bare wood exposed after sanding is a sponge for water and bacteria. Seal it. Food-safe mineral oil or waterproof finish. Don’t skip this. Seriously.
Solid Surface (Corian Type)
These counters are the same color all the way through. Forgiving to work on.
Cracks and Chips: Two-part acrylic adhesive matched to the color. Fill, cure, sand it down, polish it back. For small stuff, cyanoacrylate glue—super glue—does the trick.
Scuffs: Buffing compound on a rag. Deeper scratches? Start with fine grit and work up to polish.
Stainless Steel
Looks sharp. Shows everything.
Scratch kits work by sanding and re-creating the brushed grain. It’s tricky. Easy to make it look worse. Dents and deep gouges? Just call someone.
When a Seam Opens Up
Old houses do this. The seam between two granite slabs cracks open. Water gets in. The wood underneath swells.
Caulk hides it for a bit. The real fix is dig out the old seam, dry it completely, pack in fresh color-matched epoxy. Clamp it if you can. Let it cure. Done right, it stays.
What It Costs
Everyone asks: repair or replace?
Repair wins on price almost every time.
| Repair Type | DIY Cost | Pro Cost |
| Small chip fill | $10 – $30 | $150 – $300 |
| Laminate edge fix | $15 – $40 | $150 – $250 |
| Deep crack in stone | $25 – $75 | $200 – $500 |
| Full buff and polish | $50 – $100 | $300 – $600 |
| Tile grout fix | $4 – $20 | $100 – $200 |
Color Match Matters
Pro repair costs more because color matching is part science, part art. We mix pigments on-site to match the pattern. You’re paying for the guarantee you won’t see the patch.
In the U.S., plan on $150 to $500 for a single chip fix. Marble and quartz cost more to match. Location matters too.
When to Put the Tools Down
Some jobs aren’t worth the headache.
Call a pro when:
- The crack runs across the whole slab and moves
- There’s a hole right in your main cutting area
- It’s a pricey marble with complex veins
- You tried fixing it and it looks lousy
If you’re in the U.S. and the damage is driving you nuts, Dr. Cabinet does free on-site estimates. We fix it where you are. No tear-out. No upselling. A good pro shows up, explains the fix, and gives you a straight price. [Link to service page]
Keep It Protected After the Fix
You fixed it. Now keep it that way.
Baking soda and water paste pulls stains out of stone. A poultice handles tougher ones. Non-abrasive liquid cleansers for daily wipe-downs.
Use a cutting board. Always. Cutting straight on the counter kills your warranty on stone and just looks bad.
Trivet for hot pans. Stone handles some heat. Quartz resin can discolor. Laminate bubbles instantly. A hot iron left on its side will destroy a laminate counter in seconds.
Frequently Asked Questions: Kitchen Counter Repair
Can you repair a damaged countertop?
Yes. The fix depends on the material. Laminate chips get paint. Stone cracks get epoxy. Quick and way cheaper than ripping out everything.
How much does it cost to repair kitchen countertops?
A DIY kit costs $10. A pro fix typically costs $150 to $500 in the U.S. The price is based on damage size and material. And how tricky the color match is.
Is granite out of style in 2026?
Nope. Still a solid choice. The loud, busy patterns from 20 years ago feel dated. Today it’s tighter patterns. Mattte or leathered finishes.
Can a crack in a quartz countertop be repaired?
Yes. Clear acrylic adhesive or tinted epoxy fills it. A good tech makes it hard to spot. It might catch light a little different, but nobody will notice.
Is a DIY repair kit worth it for laminate?
For the money, absolutely. Under $20. It won’t make the damage invisible, but it smooths things out and stops the peeling. Smart first step before thinking about replacement.
What’s the best way to fix a burn mark?
Depends. Butcher block, sand it out. Solid surface, sand and polish. Granite usually doesn’t burn, it can be polished. Laminate? The plastic melted. You can’t fix that. Fill it or call a pro.
The Bottom Line
Counters take abuse. Hot pans, sharp knives, spilled stuff. Damage happens. It doesn’t mean the kitchen’s ruined.
Figure out what your counter is made of. See how bad the damage actually is. A simple kitchen counter repair can save you thousands and get things looking right again.
If you’ve got a crack or chip that’s bugging you every time you walk past it, don’t just live with it. Get a free estimate from Dr. Cabinet. We serve homeowners across the U.S. We’ll tell you straight whether to fix it or replace it. No games. Just an honest answer.