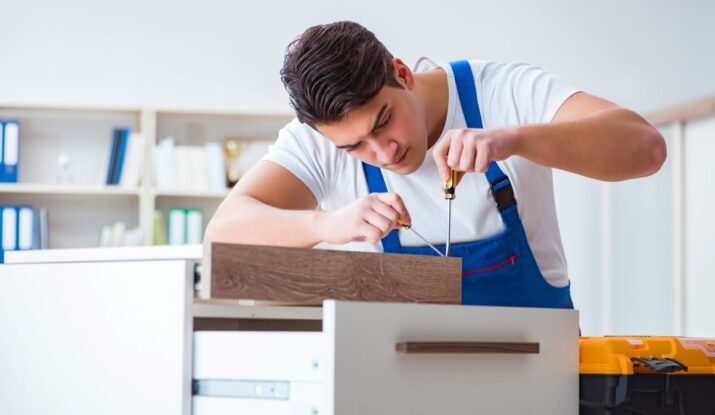
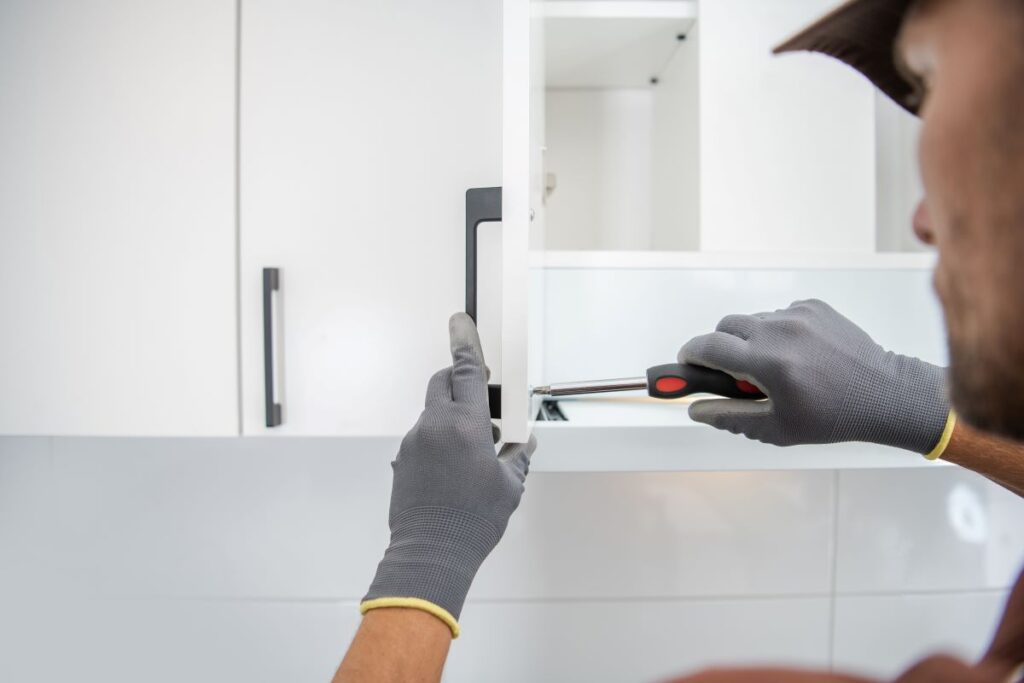
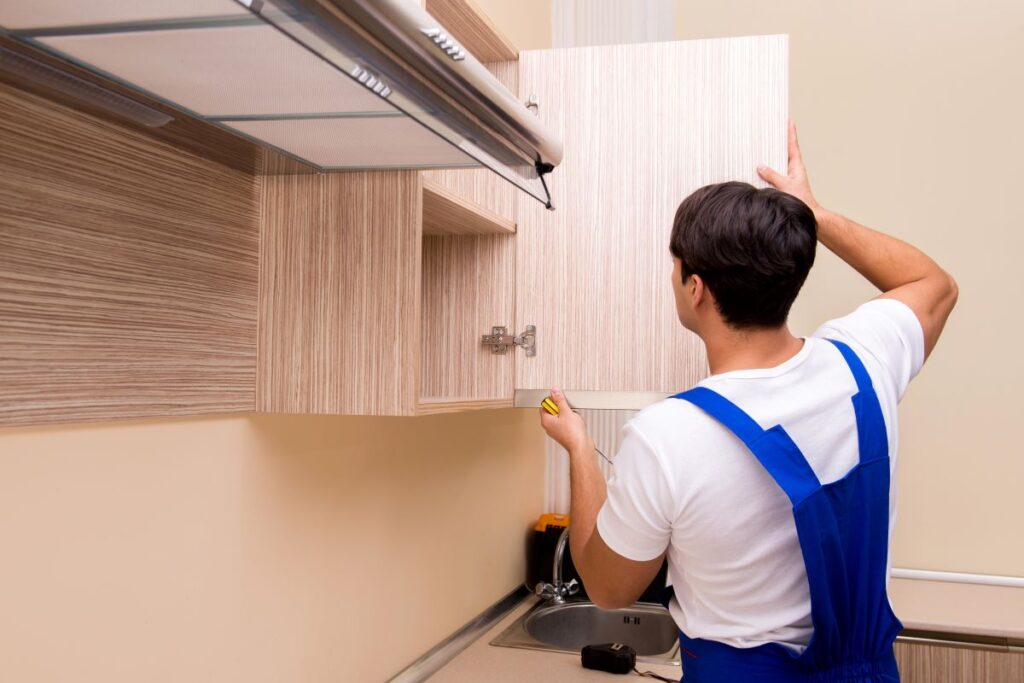
Over-the-counter and base cabinets are used quite frequently and are often exposed to stains, steam, and other signs of wear. While they last indefinitely, cabinets, like any other item in the house, encounter some problems over time, such as doors that cannot close properly, swollen hinges as well and fading finishes. It is cost-effective to seek information on how to repair cabinet problems on your own, without having to replace these items, which are very expensive for the look of your kitchen.
Understanding Cabinet Anatomy Before Repairs
Before diving into repairs, it helps to understand basic cabinet construction. Most kitchen cabinets consist of:
- A box frame (the main structure)
- Cabinet doors (typically wood or wood composite)
- Hinges (usually concealed European-style)
- Hardware (knobs, pulls, and catches)
- Interior components (shelves, drawers, and slides)
The main problematic areas are doors, hinges, and the hardware – the areas that require repair. Some cases may need professional assistance, but most of the problems are ideal for a do-it-yourself approach.
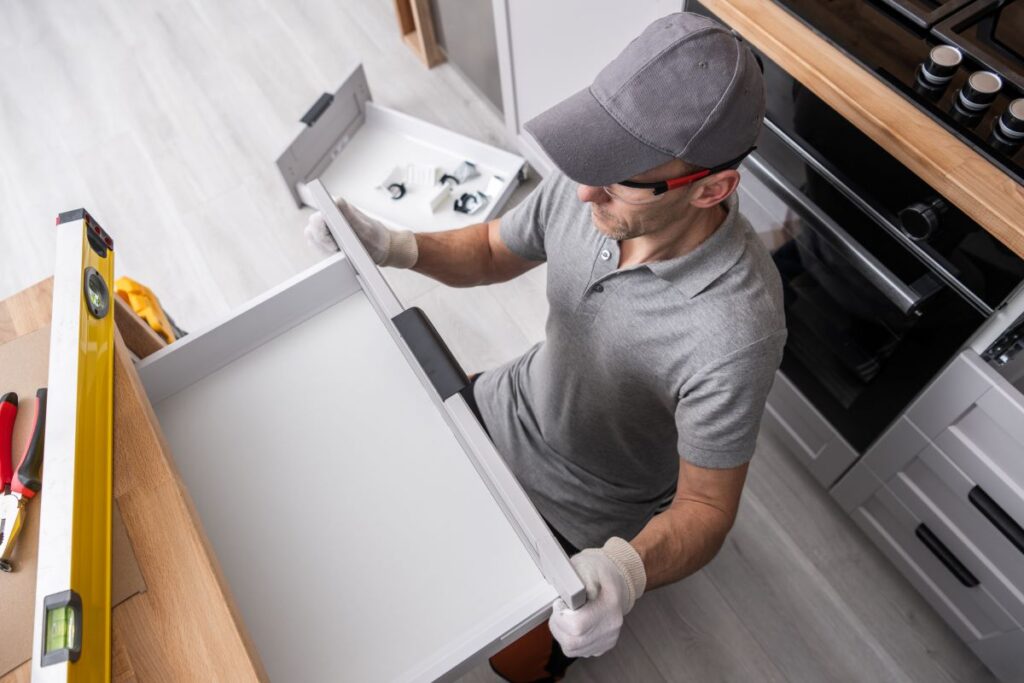
Step 1: Diagnosing Cabinet Problems
Start by examining your cabinets thoroughly. Open and close each door, checking for:
- Misaligned doors that rub or don’t close flush
- Loose hinges or stripped screw holes
- Scratches or dents in the wood grain
- Hardware that wobbles or feels unstable
- Drawers that stick or don’t slide smoothly
For structural issues, inspect the box frame for water damage, warping, or separation at joints. Make notes of each problem to prioritize repairs.
Step 2: Fixing Common Door Issues
Adjusting Misaligned Doors
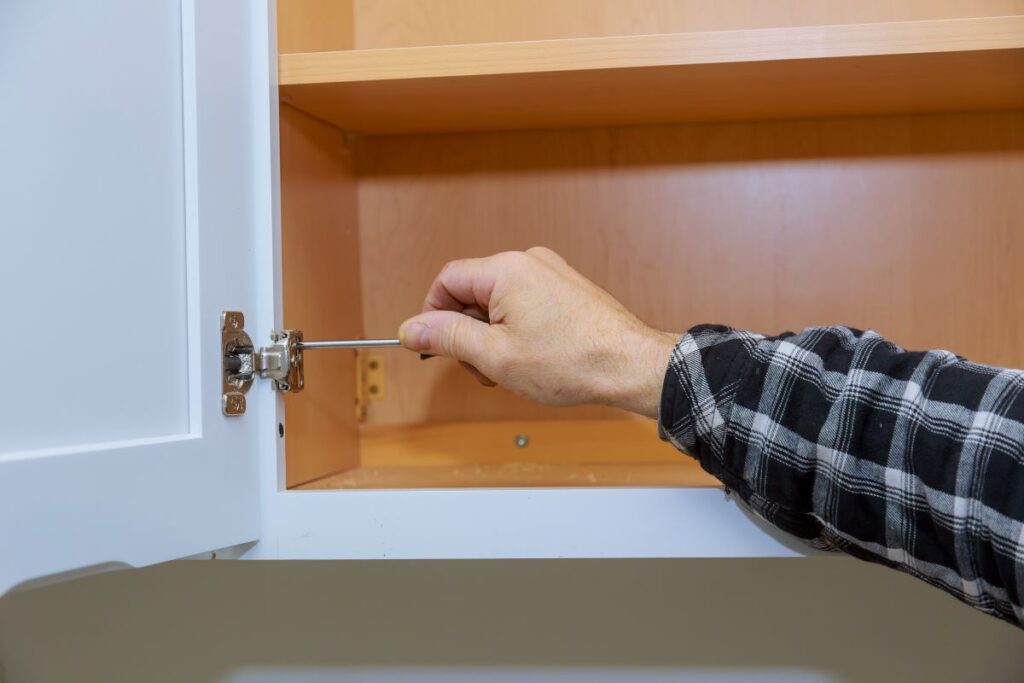
When cabinet doors don’t hang straight or won’t close properly, hinge adjustments usually solve the problem. Modern European-style hinges have three types of adjustment screws:
- Depth screw – Controls how far the door sits from the frame
- Side screw – Moves the door left or right
- Vertical screw – Raises or lowers the door
Pro Tip: Make small quarter-turn adjustments, testing the door after each tweak. Mark the original screw positions with a pencil if you need to reset.
Repairing Stripped Screw Holes
Loose hinges often result from enlarged screw holes. Here’s a surprisingly effective solution:
- Remove the screw and clean out the hole
- Dip toothpicks in wood glue and pack them tightly into the hole
- Let dry completely (about 2 hours)
- Trim excess toothpick material flush with the surface
- Reinsert the screw – it will grip firmly in the reinforced hole
- For larger holes, use a dowel coated in wood glue for even more holding power.
Installing Catches for Better Closure
Doors that won’t stay shut need magnetic or roller catches. These inexpensive devices mount inside the cabinet to hold doors securely closed. Magnetic versions offer the strongest hold, while roller catches work well for lighter doors.
Step 3: Hinge Repairs and Replacements
Hinges take the most abuse in any cabinet system. For minor issues:
- Tighten mounting screws with the proper screwdriver
- Lubricate squeaky hinges with a lighter machine oil
- Clean out grease and debris from the mechanism
If hinges bend or break, replacement is the best solution. Modern self-closing hinges provide smooth, quiet operation.
Step 4: Restoring Damaged Finishes
Scratches and worn finishes make cabinets look tired. The repair approach depends on the damage depth:
For light scratches:
- Use a stain-filled marker that matches your wood grain
- Apply with the grain, then wipe away excess
For deeper damage:
- Lightly sand the area with 220-grit paper
- Apply wood filler for deep gouges
- Sand smooth when dry
- Apply a matching stain or paint
- Finish with a protective coat of polyurethane
Pro Tip: Test stains and finishes on an inconspicuous area first to ensure color match.
Step 5: Drawer Repair Techniques
Sticking drawers frustrate every homeowner. Common causes and fixes:
For wood-on-wood sticking:
- Rub a bar of soap along the contact points
- Apply paste wax to the slide areas
For metal slide systems:
- Remove the drawer completely
- Clean the track with a dry brush
- Wipe with a damp cloth and dry thoroughly
- Apply silicone lubricant (not oil) to the mechanism
- Reinstall and test the operation
If slides are broken or bent, replacement is often more effective than repair.
Step 6: Hardware Refresh
Wobbly knobs and pulls make cabinets feel cheap. Solutions include:
- Tighten loose screws (use the toothpick method if stripped)
- Replace outdated hardware with modern styles
- Install bumpers to prevent door slamming
- Upgrade to soft-close mechanisms for a luxury feel
When to Call a Professional
While most cabinet repairs are DIY-friendly, consider a professional cabinet repair man to help with:
- Structural damage to the cabinet box
- Water-damaged components
- Complete refinishing projects
- Custom color matching for specialty finishes
Maintenance Tips to Prevent Future Repairs
- Tighten hardware screws annually
- Clean tracks and mechanisms regularly
- Address small issues before they worsen
- Use gentle cleaners to preserve finishes
- Install bumpers to prevent door damage
FAQs: How to Repair Cabinet Issues
How do I fix cabinet doors that won’t stay closed?
If the doors of your cabinet are floppy and keep swinging open, then you should use magnetic or roller catches within the frame. They are small in size but are capable of generating enough force to keep doors tightly closed. For the time being, realign the hinges with the help of the depth screw.
What’s the best way to repair stripped screw holes in cabinets?
The best solution for stripped holes is to: Fill the hole with wood glue. Insert toothpicks or a dowel for reinforcement. Let it dry, then trim excess material. Reinsert the screw—it should grip tightly.
How can I fix misaligned cabinet doors?
Most misaligned doors can be corrected by adjusting the hinges: Use the depth screw to move the door closer or farther from the frame. The side screw shifts the door left or right. The vertical screw raises or lowers the door. Make small adjustments and test the door after each tweak.
What should I use to fill scratches or dents in wood cabinets?
For small blemishes, one can use a stain-filled touch up marker. For deeper damage: Sand the area lightly. Apply wood filler and let it dry. Sand smooth, then apply matching stain or paint. Coat with polyurethane to seal it.
What should I do when I have a stuck drawer?
If your drawer sticks: Clean the slide tracks with a damp cloth. Remove debris and apply silicone lubricant (not oil). For wooden drawers, rub wax or soap along the contact points. If the slide mechanism is broken, replacement may be necessary.
Can I fix water-damaged cabinets?
Small water marks could be sanded out but if the wood is bent or badly stained, you are likely to have to replace that portion. For serious damage, it is recommended that one hires a professional.
Should I repair the old cabinets or replace them with new ones?
If the main box is still solid, repairing doors and hardware makes sense. But if the frame’s damaged or you’re wanting a fresh look, new cabinets might be worth it.
How can I stop my cabinet doors from banging?
Those soft-close hinges are magic – they make doors close gently every time. Or just stick on some little foam bumpers where the doors hit.
What’s the fastest way to refresh my cabinet handles?
Just swap out the old knobs and pulls for new ones. If the holes don’t line up, no worries – fill the old ones and drill new ones.
How often should I check my cabinets?
Twice a year, give them a once-over: tighten anything loose, clean the tracks, and touch up any new scratches. Quick checkups save you from big repairs later. For more handy cabinet tips on how to repair cabinet, swing by Dr. Cabinet.
Final Thoughts
Learning how to repair cabinet issues empowers you to maintain your kitchen’s beauty and functionality. With basic tools and these techniques, you can solve most common problems – from misaligned doors to stripped screw holes. Remember that regular maintenance prevents many issues before they start.
For more expert tips and quality replacement parts, visit Dr. Cabinet, your resource for keeping cabinets in perfect working order for years to come.
