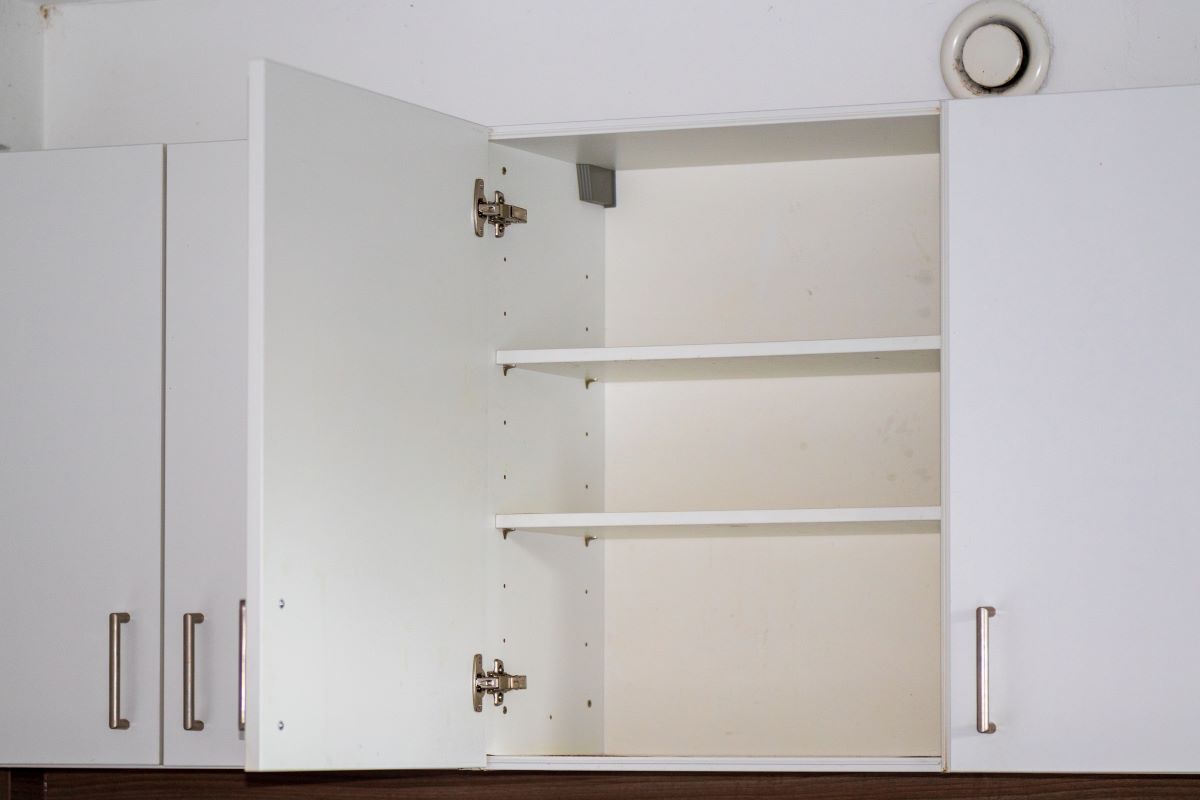
We obsess over cabinet colors and hardware finishes. But the part that faces the wall? Nobody thinks about it. That unseen surface, the backside of kitchen cabinets, is hiding secrets. Some are good, some are bad.
At Dr. Cabinet, we fix, install, and upgrade cabinets for a living. We see what happens when the unseen parts are forgotten. A great kitchen isn’t just about looks. A pretty front can hide a shaky foundation. So, let’s pull those cabinets away from the wall for a minute. You might be surprised by what we find.
Why the Backside of Kitchen Cabinets Matters
Forget decoration. The back panel is all about muscle. It’s the solid spine that keeps the entire cabinet box from wobbling and twisting. A weak back means trouble. Doors sag. Drawers scrape. Nothing works right.
What’s backside of kitchen cabinets made from? That’s where you see the quality.
- Plywood: The strong, silent type. It takes humidity and heavy dishes in stride. It’s the premium choice for a reason.
- MDF: The smooth talker. It gives you a perfect, seamless canvas for paint. But it hates water. A single spill can ruin it.
- Particleboard: The budget option. It keeps costs low, but it’s fragile. Moisture makes it puff up and fall apart.
Thickness is a big deal, too. A thin panel feels cheap; a thick one feels solid. But the real danger is invisibility. A tiny leak can fester back there for years. You won’t see the rot or the mold until it’s a major problem. And walls are never perfectly flat. They create hidden gaps—perfect spaces for damp air, insects, and dust to gather. A good installation seals these gaps. A bad one creates hidden problems that slowly get worse.
Common Problems Hidden Behind Cabinets
Out of sight should not mean out of mind. The space behind your cabinets is a perfect hiding spot for expensive problems. You need to know what to look for in backside of kitchen cabinets.
- Water is the Enemy: Look for dark stains, a soft spot in the wood, or a warped panel. That funky, damp smell? That’s a red flag.
- Trouble Zones: The area behind your dishwasher or sink is ground zero. A slow leak from a loose connection can cause rot you won’t find for months.
- A Access Nightmare: If a pipe bursts or a wire fails, how will a plumber get to it? Cabinets sealed tight to the wall turn a simple fix into a major project.
Sometimes, the cabinet itself is the problem. Low-cost options often cut corners.
- They might have no real back panel or just a flimsy piece of cardboard.
- The bracing can be too weak, so the whole box feels wobbly.
- Installers might use screws that are too short or miss the solid wood in the wall.
The result? Over time, your cabinets can slowly pull away, leaving a growing gap at the top.
Kitchen Cabinet Ideas Using the Backside
Backside of Kitchen Islands
That big, blank side of your island? It’s wasted space. Turn it into your kitchen’s most useful feature.
Open Shelving
- Ideal for the things you use all the time. Cookbooks, favorite spices, and mixing bowls are always within reach.
Slim Drawers:
- Great to store kitchen utensils. Keep your measuring cups, whisks and rolling pins neatly put away.
Display Cabinet with Glass Doors
- Add a section with a glass door. It’s a great way to show off beautiful dishes or glassware without the dust.
Built-in Breakfast Nook:
- Create a cozy bench with a lift-up seat. You get extra seating and a hidden spot to stash linens or kids’ toys.
Mixing a few of these ideas makes your island the most stylish and practical spot in the kitchen.
Maximizing Storage with Lower Cabinets & Shelves
Get clever with your lower cabinets to squeeze in every bit of storage.
- The “Half-Door” Solution: Install a shallow door on the back of a deep cabinet. It creates perfect slots for cutting boards, baking sheets, and platters.
- Dual-Sided Design: Use one side for deep pot storage and the other for open shelves. This gives you a place for a large stockpot and a spot to display colorful cookbooks.
- Knee-Saver Knobs: If you have stools at the island, choose small, low-profile handles. You’ll avoid bruised knees and snagged pockets.
Style and Inspiration for the Backside of Kitchen Cabinets
That blank wall on your island’s back doesn’t have to be boring. You can real personality to the whole room.
- Keep It Simple: Paint them the same color of your upper cabinets. This classic move helps deliver a fresh and arduous perspective that makes your kitchen feel bigger.
- Show Your Style: Open shelves are perfect for people who want to display what they love. It’s an easy way to fight clutter while showing off your favorite dishes.
- Get Inspired: Find out any design photo on the Internet. You will see a clear trend, people who are fan of modern style are using vivid colors and textures to add depth and feeling.
For example, if you tend to prefer a minimalist look, use the space to contain only a few beautiful pieces. The idea is to get past that blank wall and make a view you really love in your home.
Practical Considerations Before Installation
Dream kitchens require firm foundations. A little planning now saves a lot of headaches later on.
- Check for Blocked Access: Nothing ruins a new kitchen faster than discovering that you’ve blocked important utilities.
- Move outlets or pipes before cabinets go in
- Add access panels if utilities must stay behind cabinets
If you’re planning to add cabinets to existing kitchen, make sure the layout allows enough clearance for drawers, doors, and walkways.
- Look Closely: There might be a lot hiding behind your old cabinets that you don’t notice at first.
- Check for water damage or other issues from the past
- Fix any problems now before they get worse
- Choose What Works: Pick materials that fit how you really use your home.
- Do you prefer something durable that can hold up to daily use?
- Think about your lifestyle – many people are opting for materials that balance beauty with strength
- Install With Care: Proper installation makes all the difference.
- Make sure cabinets are securely anchored to walls
- Consider professional help for that perfect, lasting finish
FAQs
What is the backside of kitchen cabinets used for?
Think of it as the skeleton of your cabinet. It provides crucial support, but it’s also wasted space waiting to become something useful. That blank panel could be your new favorite storage spot.
Can the backside of a kitchen island have storage?
Yes, and it absolutely should! Why settle for a flat wall when you could have:
Open shelves for your most-used items
Slim drawers for kitchen tools
A display case for your favorite dishes
Even a built-in bench with hidden storage underneath
What materials are best for cabinet backs?
Plywood: The tough one. Handles moisture and heavy use without complaining.
MDF: The smooth one. Perfect for painting but keep it dry.
Particleboard: The budget pick. Works fine until it gets wet, then it swells up.
How do I know if there’s water damage behind my cabinets?
Your nose often knows first. That damp, musty smell is a red flag. Look for:
Dark stains that weren’t there before
Wood that feels soft or looks warped
Cabinets that don’t sit quite straight anymore
Is plywood better than MDF or particleboard for cabinet backs?
If you want something that lasts, yes. Plywood is the reliable choice that stands up to daily kitchen life. MDF looks great in dry areas. Particleboard is good if you are on a tight budget but don’t expect it to handle spills or heavy pots.
Conclusion
That forgotten space behind your cabinets? It’s full of potential. Backside of kitchen cabinets can solve storage problems, add character to your kitchen, and protect your investment from hidden damage.
Settling down for normal cabinets makes no sense at all. So let’s work together to make something special. At Dr. Cabinet, we use a combination of design intelligence and quality craftsmanship in building kitchens that are beautiful, functional, and built to last. Your dream kitchen is hiding somewhere in plain sight – we’ll help you find it.


