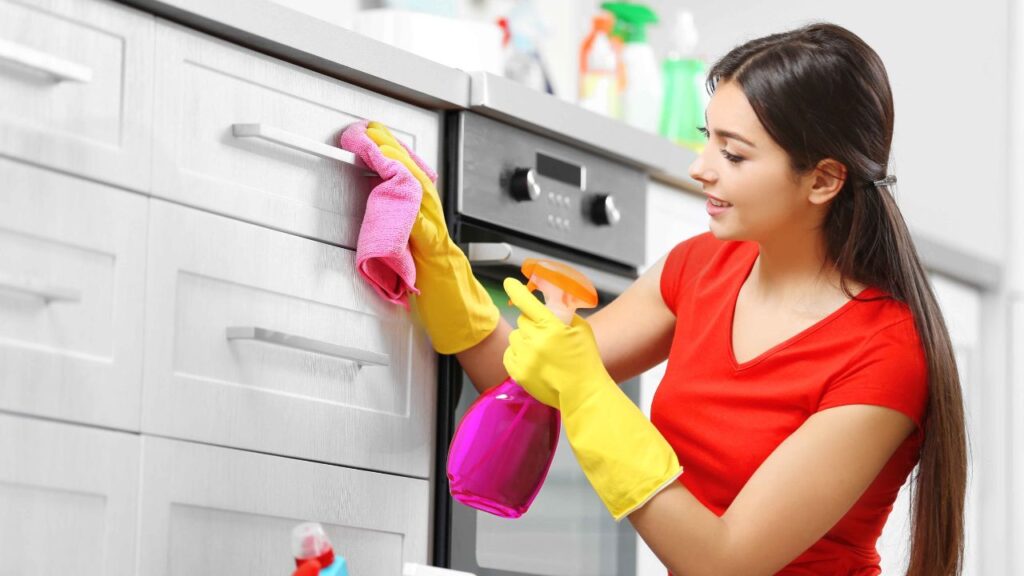
Cabinet Touch-Up Kits Cleaning Cabinets reward you not only with additional storage space, but they add an aesthetic appeal to the overall look of your entire home decor. As careful as you may be, damage could eventually occur to cabinets, especially those in high-use areas like the kitchen or bath. The minor scratches could even become a permanent distraction. These could be quite the eyesore in your flawless and neat kitchen or bath.
However, economically speaking, it is irrational to replace the whole item for the minor blemishes it has. Still, you can refinish the defective areas and give your kitchen an entirely new look.
Sometimes, you want to refinish those ugly-looking cabinets but are not sure how to get started. The revitalizing cabinets can change the mood of the whole scenario.
The resurrection depends on the finish of the cabinet exactly. The kitchen cabinet touch-up repair may take just a little time and effort. If the finish is basically in good shape, a good cleaning is simply required. But if the finish is damaged, you might have to refinish it, of course.
There is a wide range of potential causes that can result in your cabinet suffering from a variety of common damages. In the following list we will show you 5 most common types of cabinet damage that can occur:
- Scratches: These are one of the most frequent types of damage to your cabinet, and also that is annoyingly inevitable. It can happen from contact with sharp objects or accidental bumps — These are the most common causes of Scratches. In families where young children are present, the likelihood of experiencing this is even more significantly increased.
- Peeling: Another common issue is peeling, which occurs when your cabinet begins to gradually peel away, resulting in a less appealing appearance for your cabinet. High temperatures, high levels of moisture, or even the harsh cleaning chemicals that we use when we clean are the most common causes of this.
- Dent: In most cases, a dent will appear on the doors or frames of your cabinet if you accidentally bump into it or accidentally stub a heavy object on it. Dents can also occur when you accidentally bump into it. When compared to other types of damage, which can be saved by simply cleaning and wiping, this type of damage is more likely to be permanent and requires repair. This is the negative aspect of this type of damage.
- Water Damage: This form of damage occurs when there is an exposure of your cabinet to moisture, especially from dishwashers and sinks. The name of this kind of damage is popularly known as WATER DAMAGE. For this kind of damage, you will experience the growth of unpleasant mold, swelling, warping, and a change in the structure of your cabinet.
- Fading: Unlike water damage, fading is like an opposite, in that it is not caused by prolonged exposure to moisture, but instead a long exposure to sunlight. An excessive amount of exposure will cause the cabinet to lose its allure, leaving it looking lifeless and dull. In addition, you do not want your cabinet to have that appearance.
It is possible to prevent further damage to your cabinet and preserve it by recognizing these early warning signs and addressing them on your own using your cabinet touch-up kits cleaning or by contacting a cabinet touch-up service. It is also possible that it will determine whether you will spend less money on refurbishing your cabinet or whether you will purchase an entirely new cabinet.
How to Choose the Right Cabinet Touch-Up Kits Cleaning for Your Cabinets
Because this is all about doing it yourself (DIY), it is essential to make the appropriate choice when buying the ideal touch-up kit. To ensure that you can save your cabinet for good, we will demonstrate how to choose the appropriate one for yourself.
- First, you must carefully consider the material that your cabinet is constructed of. What kind of surface is it? Is it laminate, wood, or painted? You are aware of the reason why, as the proverb goes, various people have varied needs; in this particular instance, having a different cabinet material requires a different touch-up kit.
- The next step is to examine the finish of your cabinet; is it glossy, satin, or matte, respectively? The explanation for this is the same as in the previous sentence. Now that you have done this, choosing the appropriate kit will be much simpler.
- Also, make a note of the type of damage you have had. Please refer to the paragraph above this one, where we talked about the many types of damage. This information will assist you in making the best choice. As an illustration, the items that you will require for a straightforward scratch are distinct from those that are required for a peeling cabinet.
- There are a variety of do-it-yourself kits available, each of which provides a selection of shade selections and, in some cases, even color-matching that may be individualized Cabinet Touch.
However, this is a very important point if, after all of these, you are still unclear about which lit to get, or if the damage you are working with is beyond your ability to repair, please see a professional cabinet touch-up service such as Dr. Cabinet.
Best Advice Products used for Cabinet Touch-Up Kits Cleaning
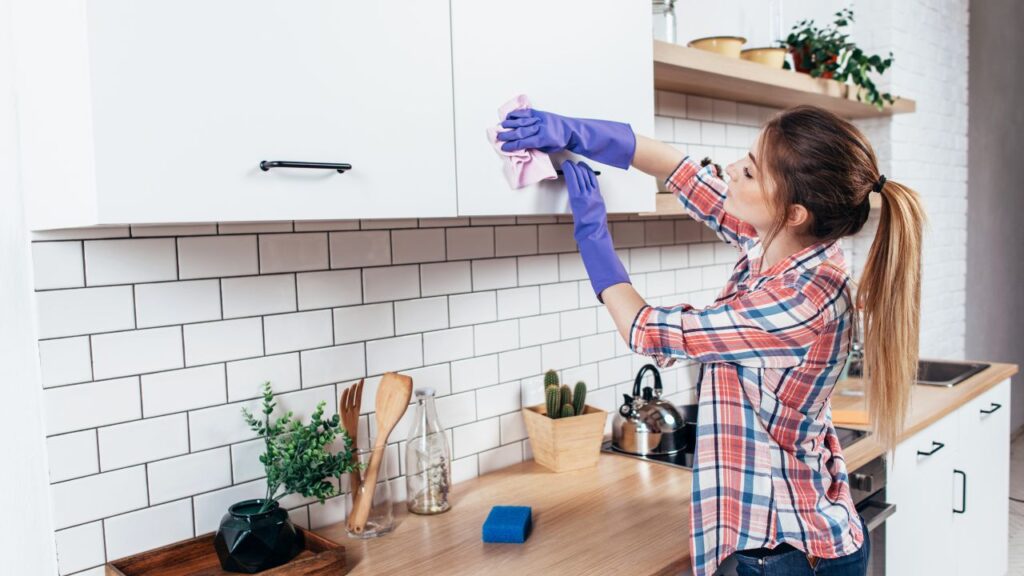
For cleaning, there are a couple of products you might try for kitchen cabinet touch-up repair.
- Oil soap cleans the finished wood gently, leaving no residue behind.
- Liquid soap that cleans and restores the wood’s natural color, grain, and luster and replenishes its natural moisture.
7 Cabinet Touch-Up Kits Cleaning Repair
These kits are designed for your specific cabinet to refinish color and style. These kits are available at almost any home improvement store or can be purchased online. These kits consist of Cabinet Touch-Up Kits Cleaning
- Touch-up Pen.
- Fill Stick.
Shallow scratches or nicks can be vanished by using a stain-filled touch-up marker.
- Buff the scratches with a cloth or pad to get a blend of surface sheen.
- Shake the touch-up pen vigorously.
- Depress the pen tip on scrap wood until it is filled with the liquid filled.
- Apply the touch-up liquid with even strokes.
- Use your fingertip for blending.
- Allow to dry for 2 minutes.
- Spray with clear polyurethane spray.
1. Repair of Scratches on wood with a Soft Fill Stick
If the marker feels too heavy on the application, start with a light application on the first. Move your way slowly, and then go with a heavy marker later. Now, try to use a heavy marker and a pen with a heavy feel.
For deeper scratches, filler sticks can be used for cabinet touch-ups. Select the stick by following the color of the wood finish and following these steps.
- Apply the fill with an even back-and-forth motion to fill in the scratch completely.
- Remove the excess fill with a dry cloth.
- Spray with clear polyurethane to get the best result.
Seriously peeling or damaged cabinets may require a thorough restoration that includes: Sanding, Staining, Sealing, Painting
2. Hardware:
Replacing the hardware on cabinets, generally, the hinges, handles, or knobs, is a quick and inexpensive way to give the Cabinets an entirely new look. This is effective if the handles on Cabinets are outdated or rusted.
3. Sanding:
After the cabinet surface is clean and dry, use a higher grit sandpaper. It allows the polyurethane to settle and stick better. Wipe sanding dust from the surface to make it smooth. Let the surface dry thoroughly for further proceedings.
4. Staining:
Apply a thick layer of gel stain all over the cabinet surface. Wipe away the excess gel stain and continue applying and wiping away the excess until you finish staining the cabinets. Let the gel stain dry. You can combine colors by staining your cabinets in one shade.
5. Painting:
Fresh paint gives old Cabinets new life. Varnish is ideal if you like a plain look. Apply varnish with a form for a smooth result. The faux painting technique or chalkboard paint enhances the look of the cabinet.
The first step to removing all oily residue and dirt from your cabinet is cleaning it! We always recommend you use either lacquer thinner or denatured alcohol.
6. Utilizing the Paint Saint Touch-Up Tool
Dealing with the residual paint and cleaning the paintbrush is the aspect of retouching paint that I least enjoy doing. For both of these issues, the Paint Saint is the solution. You can have your remaining paint stored in the container, and you can use the paintbrush that is integrated inside the container to touch up whenever you need to. The best aspect is that you will never have to clean the paintbrush since the silicone gasket built into the lid of the container prevents oxygen from entering the container Cabinet Touch.
7. White Paint Marker for Grout Pens Made of Tile
Consider using a grout pen to enhance the appearance of your tile if the grout in your home has become yellowed or faded, causing it to look less than ideal. This pen, which comes in a variety of colors and nib thicknesses, is an excellent option for a short-term solution if you are not yet prepared to undertake a complete regrouting project or remodeling.
Simple steps to use include washing and drying the grout that is already in place, shaking the pen while the cap is still on, priming the tip by pressing down on the grout surface until the paint is released, coloring the grout lines, wiping away any excess, and allowing it to cure for a full six hours before allowing it to become wet kitchen cabinet.
Steps To Be Followed for Refinishing Your Kitchen Cabinets
- Unscrew the Cabinet’s hinge and knobs with a screwdriver. Remove the doors and set them aside.
- Wear a dust mask so that you always protect yourself.
- Dampen a cloth with mineral spirit and wipe the Cabinet properly to remove all the dust traces.
- Get a paper grit and then do the following step.
- Use long strokes and cover all the crevices to remove some of the finish and roughen the surface for better results.
- Mix the stain finish and blend it thoroughly. Dip a paintbrush into the stain and tap it on the edge of the can to remove any excess.
- Brush the stain onto the Cabinet. Overlap the stroke to blend the stain but avoid over-brushing.
- Brush the entire Cabinet using a straight stroke for a smooth finish.
- Reattach the cabinet doors and hardware with a screwdriver.
DIY vs. Professional Cabinet Touch-Up: When to Call the Experts
You can help yourself fix some problems by using do-it-yourself touch-up kits, which are very useful and very important to have around. However, in some situations bringing a professional is the next best step you will need to take, to keep your cabinet retain its pristine look, without making the situation worse. We will go through 5 reasons you should immediately consider hiring a professional instead of doing the Refinishing yourself.
- The first reason you should consider a professional is when your cabinet has sustained significant damage, such as deep scratches, large areas of peeling, or severe damage by water. This is the case when the cabinet has been damaged extensively. In this particular scenario, a professional touch-up service is a viable option that should be seriously considered. Attempting to repair these kinds of cabinets may even make the damage worse or produce results that are not satisfactory. This is the reason for this belief in Cabinet Touch.
- The Complicated Finishes: Another case study will be conducted if the damaged cabinet has extremely intricate finishes, such as a lacquer with a high gloss or detailed wood grains. Specialized knowledge and methods are required to achieve these desired cabinet finishes. To ensure a smooth and flawless finish, it is recommended that a professional be contacted at this stage. Professionals typically have more experience in dealing with surfaces that are as delicate as these.
- The Lack of Confidence or Time: This is a no-brainer — as it is one of the most obvious reasons one can choose a professional service over A DIY refinish. There is also the issue of a lack of confidence you have to do a good job. This is because it takes a lot of dedication, time, and a level of expertise to be able to pull off a DIY project well enough.
- Another case that is not as difficult to pull off as the others is the one that involves matching the perfect colors and finishing. This is a case that consists of matching the colors and finishing. On the other hand, it is a skill that can be easily learned, although it is not exactly easy to understand. Particularly for custom cabinets or older cabinets, it can be quite difficult to achieve a perfect color match and finish. To ensure a seamless integration with your cabinet, professionals always have access to a wide variety of finishes and colors.
- Profitability and Re-sale: Receiving a professional cabinet touch-up service can be advantageous if you intend to sell your home shortly. Your cabinet will continue to have its appeal and will have a higher market value as a result of this enhancement. It is more likely that prospective buyers will be impressed by cabinets that have been professionally restored. This demonstrates the attention to detail and care that you have put into your home kitchen cabinet.
Cabinet Touch-Ups and Home Resale Value
you can’t fix your kitchen door that needs a cabinet touch-up service before you sell your house. And few things make a stronger first impression about your home’s overall appeal and condition than its kitchen and hoke cabinets. A Well-maintained cabinet conveys a sense of attention to detail and care a homeowner has given his home. On the other hand, outdated, worn, and damaged cabinets can make a hoke lose its appeal, and leave prospective buyers with a bad impression that can also lead to lowered offers touch-up service.
Why We Should Prefer Dr. Cabinet to Refinish the Cabinets
Dr. Cabinet provides a professional cabinet touch-up Service repair and refinish service. We restore the original look and beauty of furniture that has been damaged.
How It Works
- Send us a picture of your damaged Cabinet and your contact information.
- We will give you a free estimate and quickly call you to schedule an appointment
- Our professional team will come to fix your Cabinet with same-day service.
- Your cabinet touch-up service repair was done by the #1 team with 100% success.
- one-year warranty.
When you need a Cabinet Touch-Up Service or Cabinet Breaks, we fix it. Our repair expert can save you time and effort. We are always a call away! From the time you contact us, or get to our office, we make sure you get your money’s worth and perfect satisfaction.
For residential restoration services and commercial repair and maintenance, trust Dr. Cabinet for an Affordable price
